
 English
 русский
Cabinet Gas Springs, also known as gas struts or dampers, are commonly used in cabinets—especially overhead kitchen cabinets—to assist in lifting and holding the door open. Over time, you may find that the tension is too loose, causing the door to sag, or too tight, making it difficult to close. Fortunately, many gas springs can be adjusted to fine-tune their performance. Here’s a practical guide on how to adjust the tightness of cabinet gas springs.
1. Understand the Type of Gas Spring You Have
Before attempting any adjustment, identify the type of gas spring installed:
Non-adjustable gas springs : These are sealed units with fixed pressure and cannot be modified.
Adjustable gas springs : These have a built-in valve or screw mechanism that allows for pressure adjustments.
If your gas spring has an Allen screw, dial, or release valve at one end, it's likely adjustable.
2. Gather the Necessary Tools
Common tools needed for adjusting gas springs include:
Allen wrench (usually 3mm or 4mm)
Screwdriver (flathead or Phillips, depending on model)
Lubricant (optional)
Safety gloves
Ensure the cabinet door is securely held open or supported before starting any work.
3. Adjusting the Tension: Step-by-Step Guide
Step 1: Locate the Adjustment Mechanism
Find the adjustment screw or valve—usually located on the piston rod end or cylinder body of the gas spring.
Step 2: Loosen the Lock Nut (if applicable)
Some models have a lock nut that secures the adjustment screw. Use a wrench to loosen it slightly before turning the screw.
Step 3: Turn the Adjustment Screw
Clockwise: Tightens the spring, increasing resistance and lift force.
Counterclockwise: Loosens the spring, reducing tension and making the door easier to close.
Make small adjustments—about 1/4 turn at a time—and test the door after each change.
Step 4: Test the Door Movement
After each adjustment, gently open and close the cabinet door to see if the tension feels right. The ideal setting should:
Hold the door fully open without sagging
Allow smooth and controlled closing
Not require excessive force to operate
Step 5: Re-tighten the Lock Nut
Once you’ve found the optimal tension, re-tighten the lock nut to secure the adjustment in place.
4. Troubleshooting Common Issues
Door drops suddenly: Indicates low pressure or a faulty seal. Try tightening the adjustment screw. If ineffective, consider replacing the gas spring.
Too hard to open/close: Over-pressurized spring. Loosen the screw gradually.
Uneven operation between two springs: Adjust both sides equally to ensure balanced support.
5. Maintenance Tips for Longevity
Lubricate moving parts periodically with silicone-based lubricant to prevent sticking.
Avoid overloading the cabinet door , which can strain the gas springs.
Inspect regularly for oil leaks, corrosion, or damaged components.
Replace when necessary —gas springs typically last 5–10 years depending on usage.
6. When to Replace Instead of Adjust
Adjustments can only do so much. If the gas spring:
Leaks oil or gas
Makes unusual noises
No longer holds the door open despite full adjustment
Has visible damage or rust
It’s time to replace it with a new one. Be sure to match the specifications (force rating, length, mounting type) to ensure compatibility.
Adjusting the tightness of cabinet gas springs is a simple but effective way to restore functionality and improve usability. With the right tools and a methodical approach, most users can perform this task themselves. Remember to work safely, make gradual changes, and monitor performance after each adjustment. Regular maintenance will extend the life of your gas springs and keep your cabinet doors operating smoothly for years to come.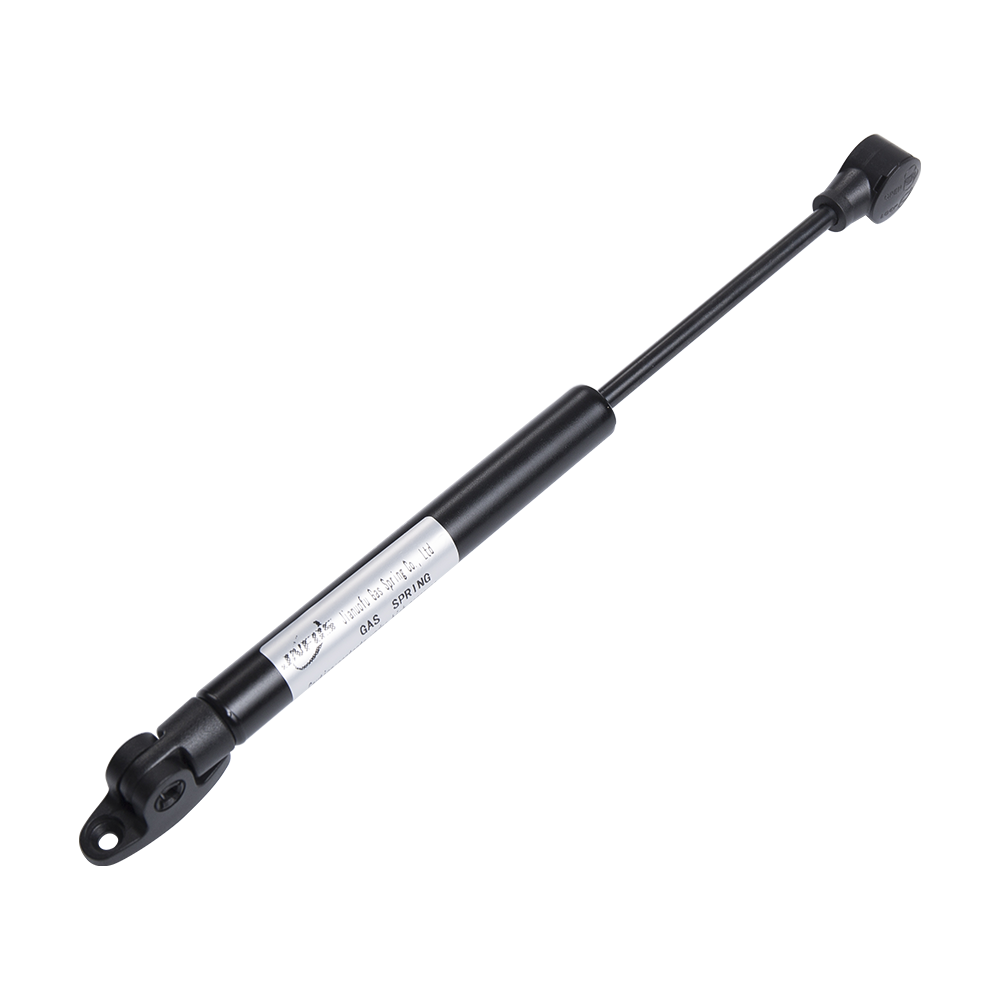


 111 Fangzhong Street, Qianhuang Town, Wujin District, Changzhou
  +86-13338796171
 +86-13338796171(WhatsApp)
 +86-051985616865
